 BUY
Getting Started with the Epson Perfection V800 Scanner
Epson User Guides
Epson Setup Guide
Download the User Manual
Setting up the scanner
Step 1
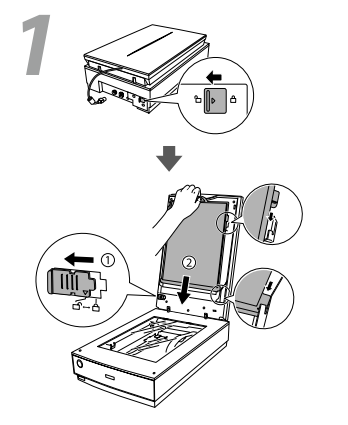
Release Transport Locks
Important! Release the two transportation locks
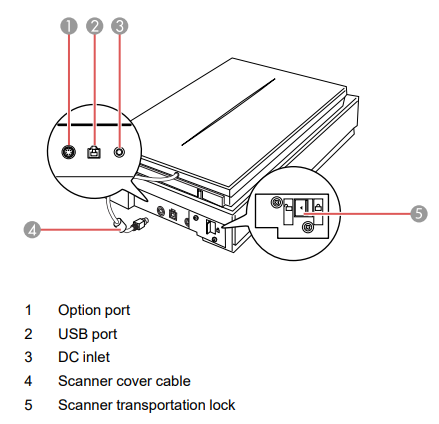
The first lock is located at the rear of the scanner
The second lock on the underside of the scanner cover
Step 2
Connect Scanner Cover Cable
If it isn’t already connected, connect the scanner cover cable to the DC inlet on the rear of the scanner
Step 3
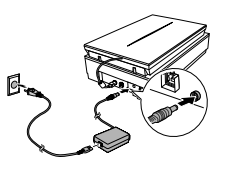
Connect the power cable to the wall outlet
Step 4
Connect the scanner to your computer
Use the provided USB cable and connect the scanner to your computer
Step 5
Power on the scanner
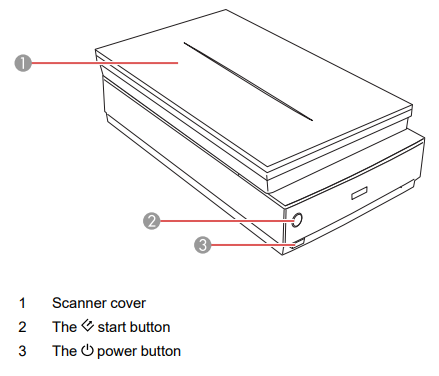
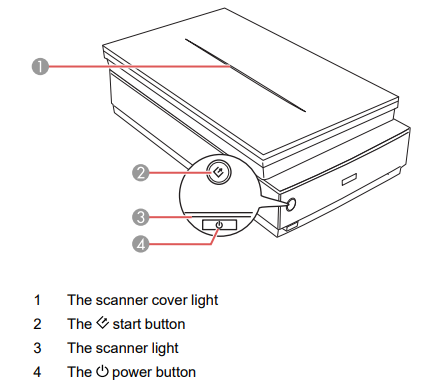
Before powering on the scanner, double check that both the transportation locks have been released (refer to Step 1). Firmly press the power button located on the front of the scanner to turn the scanner on. A green light will appear above the power button to confirm the scanner is on.
Preparing the scanning software
Step 1
Head over to the Epson website and download the drivers and software for your operating system. The Epson website may automatically detect which operating system you’re using but if it doesn’t the the following links may help you:
- How do I check which Windows operating system I’m running?
- How do I check which Mac operating system I’m running?
Step 2
Install and run the setup application
The application will connect to the internet and install the appropriate driver for you system.
Step 3
Ensure the scanner is connected to the computer
The application may not find the scanner straight away. Try disconnecting and reconnecting the USB cable if this is the case. You will see the following screen once you have successfully connected the scanner.
Step 4
Open the Epson Scan software
If everything has happened correctly, you should now see the Epson Scan software available in your applications. Open the application to begin scanning.
We recommend using the Professional Mode which you can select on the top right of the window.
How to Scan Printed Photographs
Step 1
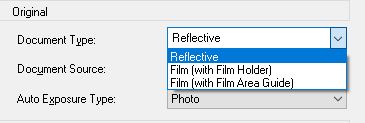
Document Type: Reflective
Using the Document Type dropdown menu, select “Reflective” from the list.
Step 2
Auto Exposure Type: Photo
Using the Auto Exposure dropdown menu, select “Photo” from the list.
Step 3
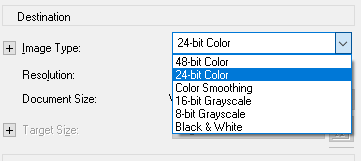
Image Type: 24-bit Color
For most personal applications, such as digitising family photos, using 24-bit colour will capture plenty of information. Only use 48-bit colour if you have had some experience as this mode could severely slow down scanning and your computer’s computing power.
Step 4
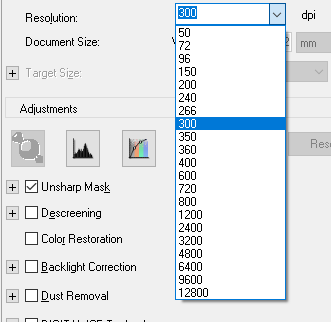
Resolution
Put simply, scanning at a resolution of 300 dpi (dots per inch) will record enough information to print your file at 1:1 size.
Example 1: Scanning a 6 x 4 inch photograph at 300 dpi can be printed at 6 x 4 inches without losing information
- 300 dpi = 1 : 1
- 600 dpi = 1 : 2
- 900 dpi = 1 : 3
- 1200 dpi = 1 : 4
Example 2: Scanning a 6 x 4 inch photograph at 600 dpi can be printed at 12 x 8 inches without losing information
Please note, increasing the scanning resolution will also increase the time it takes to scan each photo.
Step 5
Load a photo in the scanner
Place your photograph onto the scanner, with the image facing down on the glass
Step 6
Preview
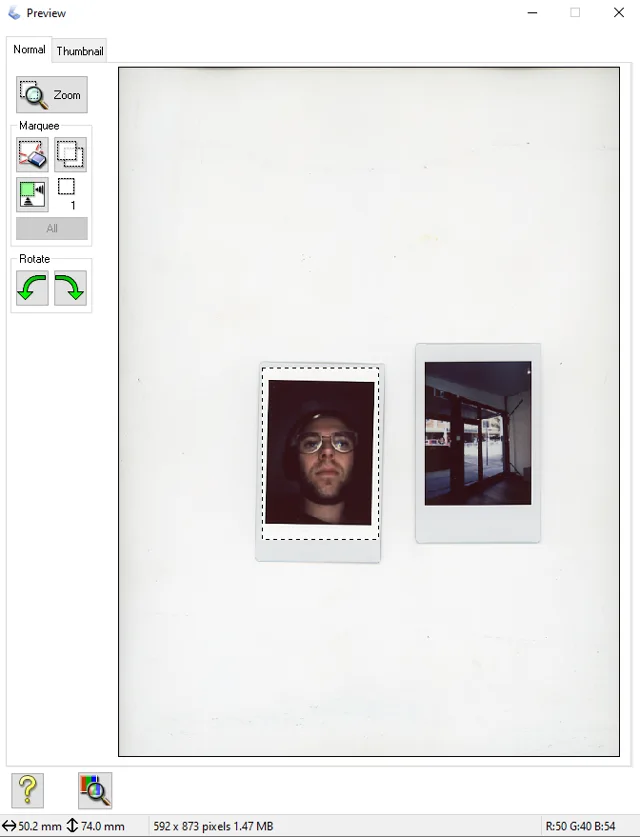
Use the preview button to quickly visualise the position of your photograph. This will open the Preivew window.
Step 7
Select the Scanning Area
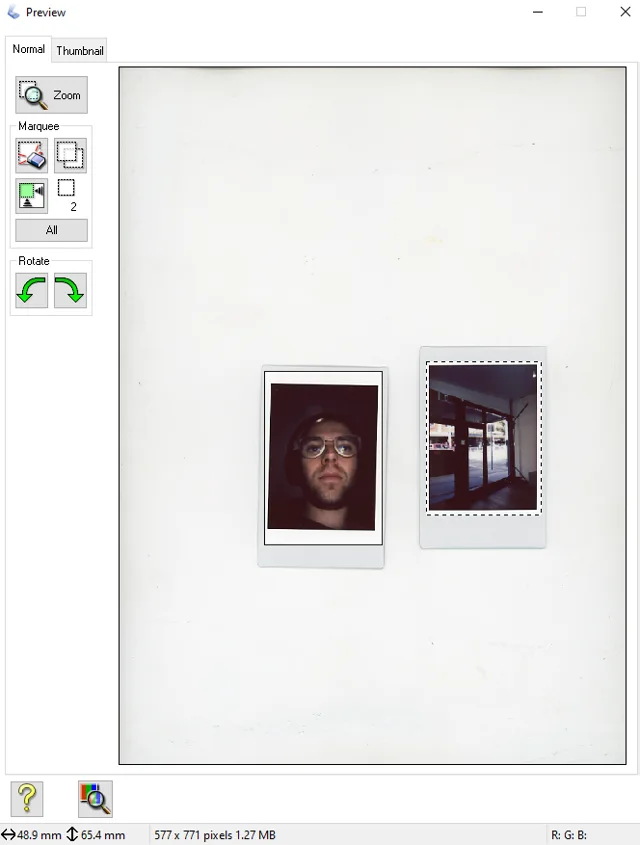
Click and drag on the previewed image to select the area you’d like to scan.
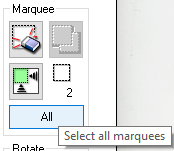
You can scan multiple images at once by simply clicking and dragging an additional area and selecting “All” underneath the Marquee tool options
Step 8
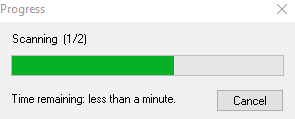
Scan
Press the Scan button to start scanning
Step 9
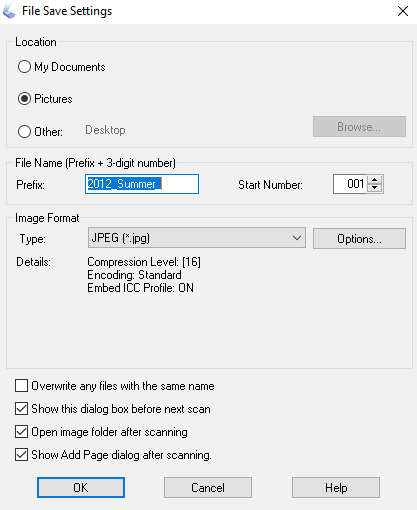
Select how and where to save your files
Use the dialogue box to select which location to save your images.
Update the File Name prefix so it makes sense in your filing system.
Set the Start Number to zero for your first scan (this will automatically increment as you progress through scanning)
Make sure Image Format is set to JPEG (*.jpg) as these will be easiest to use accross all of your devices.
Press OK
Step 10
Put on the kettle and make a cup of tea
Get comfortable as the sound of the scanner running is going to become a familiar sound!